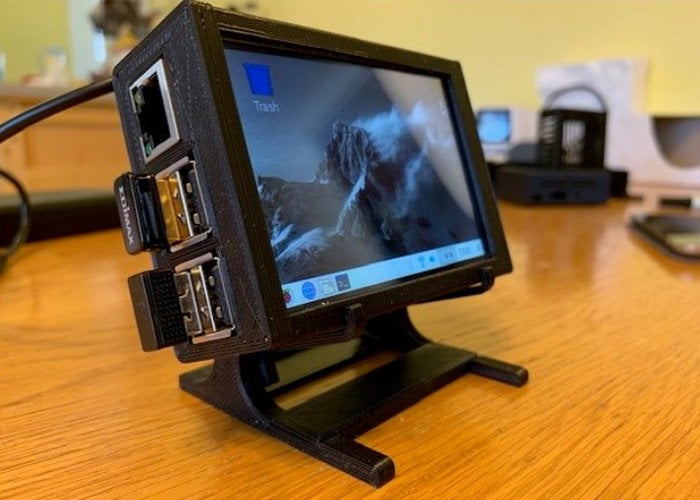
Monitoring your Raspberry Pi remotely using free apps is a convenient and cost-effective solution for managing your projects from anywhere in the world. Whether you're a hobbyist, developer, or professional, having remote access to your Raspberry Pi can significantly enhance your productivity. This guide will provide you with all the necessary information to set up and manage your Raspberry Pi remotely using free applications.
Remote monitoring of Raspberry Pi has become increasingly popular as more people adopt this versatile device for various applications, from home automation to server hosting. By utilizing free apps, you can easily access your Raspberry Pi without breaking the bank. This article will explore the best apps available and guide you through the setup process.
Throughout this article, we will discuss the importance of remote monitoring, the tools you need, and the step-by-step procedures for setting up your Raspberry Pi for remote access. By the end, you'll have a solid understanding of how to monitor Raspberry Pi remotely with free apps, ensuring seamless control over your projects.
Read also:Movie Relz The Ultimate Guide To Movie Releases
Table of Contents
- Introduction
- The Importance of Remote Monitoring
- Tools You Need
- Setting Up Your Raspberry Pi for Remote Access
- Best Free Apps for Monitoring Raspberry Pi
- Ensuring Security
- Troubleshooting Common Issues
- Advanced Features
- Comparison of Popular Apps
- Conclusion
The Importance of Remote Monitoring
Remote monitoring of Raspberry Pi allows users to access their devices from anywhere, which is crucial for maintaining and managing projects efficiently. Whether you're running a web server, managing IoT devices, or automating your home, remote access provides flexibility and convenience.
Here are some key benefits of remote monitoring:
- Accessibility: Access your Raspberry Pi from any location with an internet connection.
- Efficiency: Monitor and control your projects without needing to be physically present.
- Cost-Effectiveness: Free apps eliminate the need for expensive software solutions.
- Scalability: Easily scale your projects as your needs grow.
By leveraging free apps, you can achieve these benefits without incurring additional costs, making remote monitoring an attractive option for both beginners and professionals.
Tools You Need
Hardware Requirements
Before setting up your Raspberry Pi for remote access, ensure you have the necessary hardware components:
- Raspberry Pi device (any model compatible with your project)
- Power supply
- MicroSD card with pre-installed operating system (e.g., Raspberry Pi OS)
- Ethernet cable or Wi-Fi adapter for internet connectivity
Software Requirements
In addition to hardware, you'll need the following software:
- Raspberry Pi OS (or any compatible operating system)
- A free remote monitoring app (discussed in detail later)
- A VNC client or SSH client for remote access
Having the right tools ensures a smooth setup process and optimal performance for your remote monitoring system.
Read also:Movie Rulz 2024 Your Ultimate Guide To Streaming Movies Online
Setting Up Your Raspberry Pi for Remote Access
Setting up your Raspberry Pi for remote access involves several steps. Below is a comprehensive guide to help you through the process:
Step 1: Install Raspberry Pi OS
Begin by installing Raspberry Pi OS on your microSD card. You can download the latest version from the official Raspberry Pi website and use a tool like Balena Etcher to flash the image onto your card.
Step 2: Enable SSH and VNC
To enable remote access, you need to activate SSH and VNC services on your Raspberry Pi. You can do this by navigating to the "Preferences" menu and selecting "Raspberry Pi Configuration." Check the boxes for SSH and VNC under the "Interfaces" tab.
Step 3: Connect to the Internet
Ensure your Raspberry Pi is connected to the internet via Ethernet or Wi-Fi. This connection is essential for remote monitoring and access.
Step 4: Note the IP Address
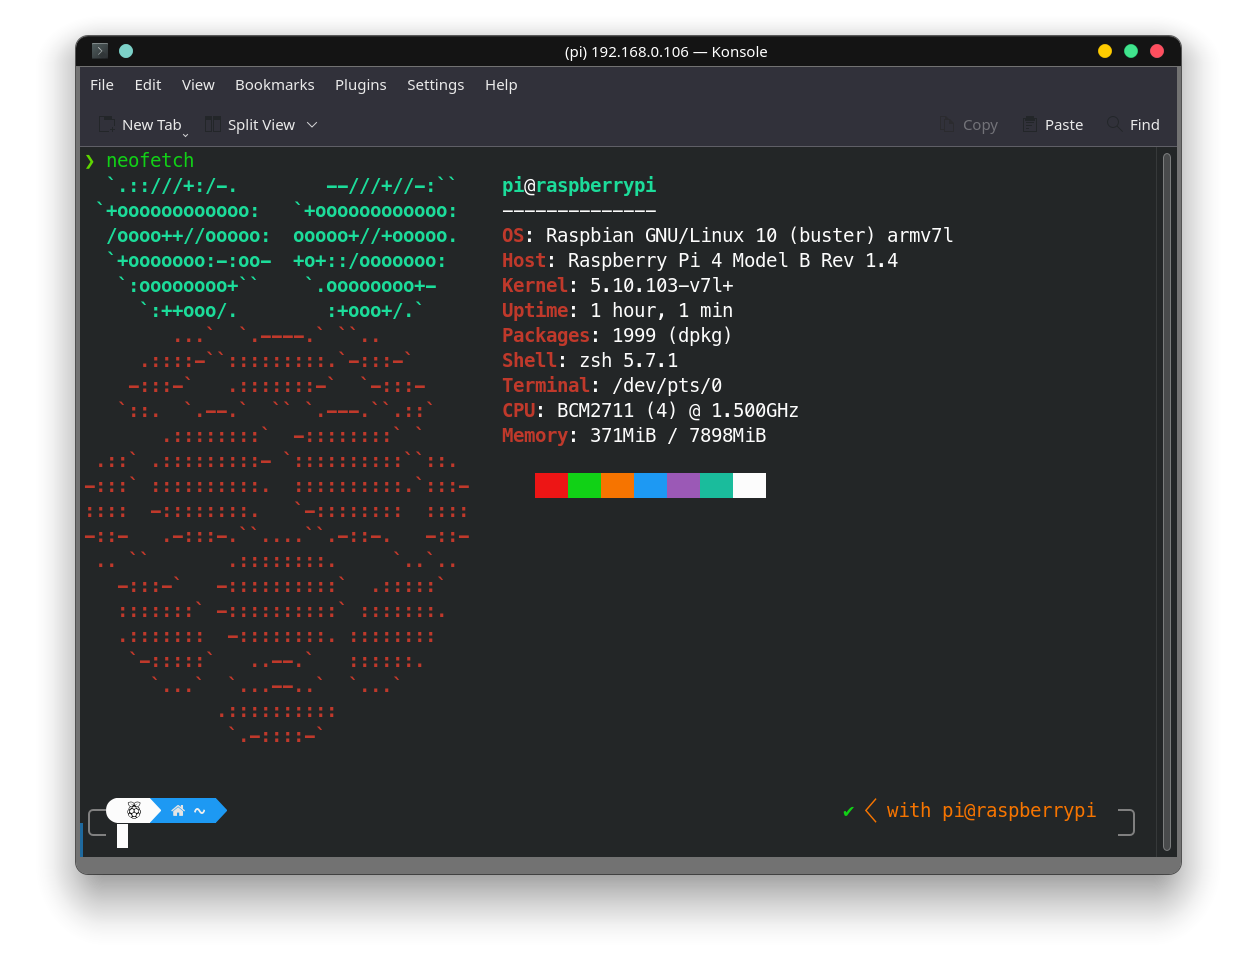
Find your Raspberry Pi's IP address by typing the following command in the terminal:
hostname -I
This IP address will be used to connect remotely.
Best Free Apps for Monitoring Raspberry Pi
Several free apps are available for monitoring Raspberry Pi remotely. Here are some of the best options:
1. VNC Viewer
VNC Viewer is a popular choice for remote desktop access. It allows you to control your Raspberry Pi as if you were sitting in front of it. The app is available for multiple platforms, including Windows, macOS, Android, and iOS.
2. SSH Clients
SSH clients like PuTTY (for Windows) and Terminal (for macOS) enable secure command-line access to your Raspberry Pi. These tools are essential for managing your device remotely.
3. Web-based Dashboards
Some users prefer web-based dashboards for monitoring their Raspberry Pi. Tools like Grafana can be configured to display real-time data from your device, providing a visual representation of its status.
Ensuring Security
Security is paramount when setting up remote access for your Raspberry Pi. Here are some tips to ensure your device remains safe:
- Use Strong Passwords: Create complex passwords for SSH and VNC access.
- Enable Two-Factor Authentication: Add an extra layer of security by enabling two-factor authentication.
- Update Regularly: Keep your operating system and apps updated to protect against vulnerabilities.
- Limit Access: Restrict access to trusted IP addresses or use a VPN for added security.
By following these security practices, you can safeguard your Raspberry Pi from unauthorized access and potential threats.
Troubleshooting Common Issues
Even with careful setup, issues may arise when monitoring Raspberry Pi remotely. Below are some common problems and their solutions:
Issue 1: Unable to Connect
Solution: Verify your IP address and ensure your Raspberry Pi is connected to the internet. Check firewall settings to ensure they are not blocking remote access.
Issue 2: Slow Connection
Solution: Optimize your network settings and consider upgrading your internet connection for faster performance.
Issue 3: Security Concerns
Solution: Review your security measures and implement additional protections as needed.
Advanced Features
Once you've mastered the basics of remote monitoring, consider exploring advanced features to enhance your setup:
Automated Monitoring
Set up scripts to automate the monitoring process, alerting you to any issues or changes in your Raspberry Pi's status.
Custom Dashboards
Create custom dashboards using tools like Node-RED to visualize data from your Raspberry Pi in real-time.
Remote Backup
Configure your Raspberry Pi to perform regular backups, ensuring your data is always safe and accessible.
Comparison of Popular Apps
Choosing the right app for monitoring your Raspberry Pi can be challenging. Below is a comparison of popular free apps:
| App Name | Features | Platforms | Pros | Cons |
|---|---|---|---|---|
| VNC Viewer | Remote desktop access | Windows, macOS, Android, iOS | Easy to use, reliable | May require good internet connection |
| PuTTY | SSH client | Windows | Free, lightweight | Command-line interface only |
| Grafana | Web-based dashboard | Web | Highly customizable | Requires setup and configuration |
Conclusion
Monitoring Raspberry Pi remotely using free apps is a practical solution for managing your projects efficiently. By following the steps outlined in this guide, you can set up your Raspberry Pi for remote access and take advantage of the many benefits it offers.
Remember to prioritize security and explore advanced features to enhance your setup further. We encourage you to share your experiences and insights in the comments section below. Additionally, feel free to explore other articles on our site for more tips and tricks related to Raspberry Pi and remote monitoring.
Thank you for reading, and happy tinkering!