Accessing a Raspberry Pi remotely has become a crucial skill for developers and enthusiasts working on Internet of Things (IoT) projects. Whether you're managing a home automation system or developing a large-scale IoT deployment, remote access allows you to control your Raspberry Pi without physical presence. This tutorial will walk you through the process step by step, ensuring your IoT projects are efficient and manageable from anywhere in the world.
With the increasing reliance on cloud-based solutions and remote work, the ability to remotely access Raspberry Pi devices is more important than ever. This guide will not only teach you how to set up remote access but also ensure that your setup is secure and reliable.
In this comprehensive tutorial, we'll cover everything you need to know about remote access, including setting up SSH, using VNC for graphical interfaces, and securing your connection with best practices. By the end of this article, you'll be equipped with the knowledge to successfully implement remote access for your Raspberry Pi IoT projects.
Read also:Kannada Rulz Com A Comprehensive Guide To The Popular Kannada Entertainment Platform
Table of Contents
- Introduction to Remote Access on Raspberry Pi
- Overview of Raspberry Pi and IoT Projects
- Setting Up SSH for Remote Access
- Using VNC for Graphical Remote Access
- Securing Your Remote Connections
- Configuring Your Network for Remote Access
- Troubleshooting Common Issues
- Advanced Techniques for Remote IoT Projects
- Best Practices for Remote Access
- Conclusion and Next Steps
Introduction to Remote Access on Raspberry Pi
Remote access is a fundamental aspect of modern technology, especially when working with IoT devices. The Raspberry Pi, a versatile single-board computer, plays a significant role in IoT applications due to its affordability and flexibility. Understanding how to remotely access Raspberry Pi is essential for managing IoT projects efficiently.
This section will provide an overview of why remote access is important and how it can enhance your IoT projects. We'll also discuss the benefits of remote access, such as increased productivity, reduced downtime, and easier maintenance.
By the end of this section, you'll understand the importance of remote access in IoT projects and why mastering this skill is crucial for success.
Overview of Raspberry Pi and IoT Projects
The Raspberry Pi is a powerful yet compact device that has revolutionized the world of IoT. Its ability to run various operating systems and support a wide range of sensors and peripherals makes it ideal for remote IoT projects.
Key Features of Raspberry Pi
- Compact size and low power consumption
- Support for multiple operating systems, including Raspbian and Ubuntu
- Compatibility with numerous sensors and hardware components
- Cost-effective solution for IoT applications
Raspberry Pi's versatility allows developers to create innovative IoT solutions, from home automation to industrial monitoring systems. Understanding the capabilities of Raspberry Pi is essential for successful remote IoT projects.
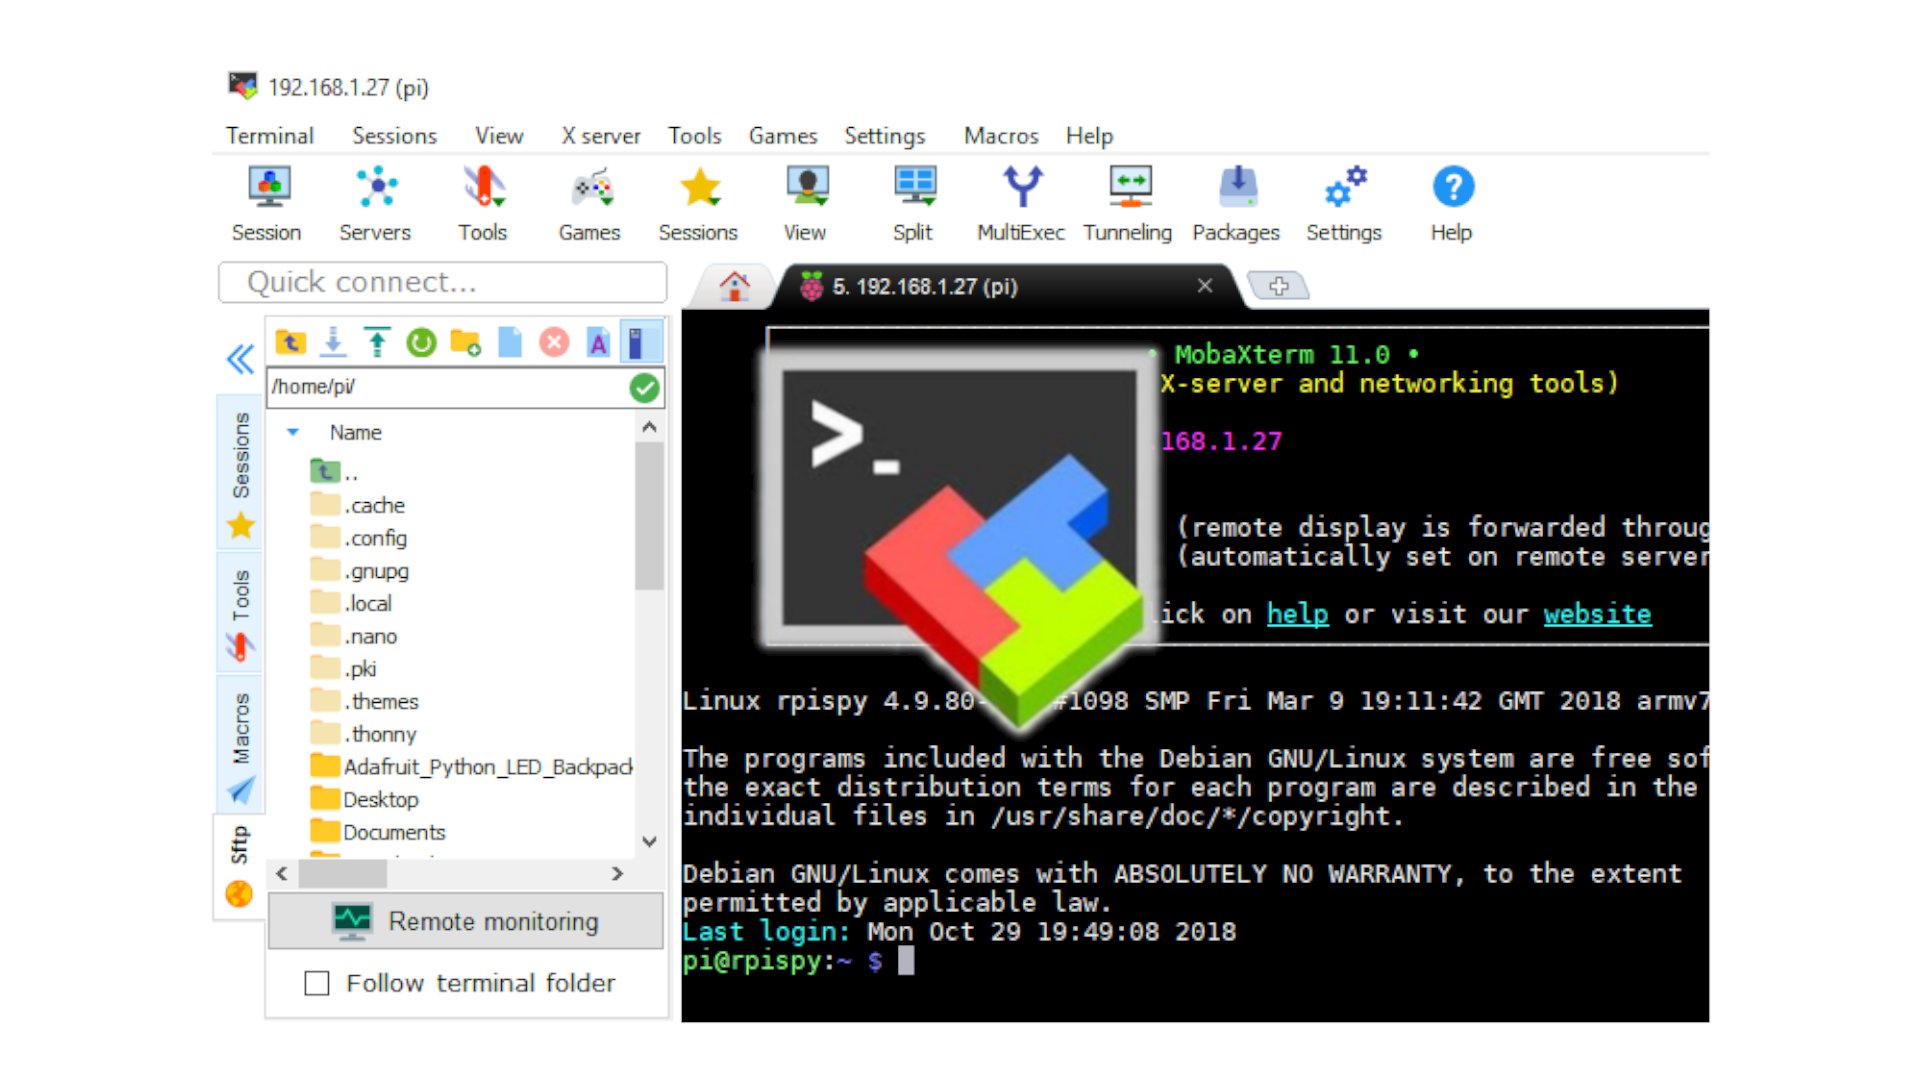
Setting Up SSH for Remote Access
SSH (Secure Shell) is one of the most common methods for remotely accessing Raspberry Pi. It provides a secure way to connect to your device via the command line interface.
Read also:7 Movie Rulz Unveiling The Ultimate Film Experience
Steps to Enable SSH on Raspberry Pi
- Ensure your Raspberry Pi is connected to a network.
- Access the terminal and type
sudo raspi-config. - Navigate to the "Interfacing Options" and enable SSH.
- Reboot your Raspberry Pi to apply the changes.
Once SSH is enabled, you can connect to your Raspberry Pi from another computer using an SSH client like PuTTY or Terminal.
Using VNC for Graphical Remote Access
For users who prefer a graphical interface, VNC (Virtual Network Computing) offers a convenient way to remotely access Raspberry Pi. VNC allows you to control your Raspberry Pi as if you were sitting in front of it.
Installing and Configuring VNC
- Install the VNC server by running
sudo apt-get install realvnc-vnc-server. - Enable VNC through the Raspberry Pi configuration tool.
- Download the VNC Viewer app on your computer or mobile device.
- Connect to your Raspberry Pi using its IP address.
VNC provides a user-friendly interface for managing IoT projects, making it an excellent choice for beginners and advanced users alike.
Securing Your Remote Connections
Security is a critical consideration when setting up remote access for your Raspberry Pi. Without proper security measures, your device could be vulnerable to unauthorized access and cyberattacks.
Best Practices for Securing Remote Connections
- Use strong, unique passwords for SSH and VNC.
- Enable two-factor authentication (2FA) whenever possible.
- Regularly update your Raspberry Pi's software and firmware.
- Consider using a firewall to restrict access to your device.
By following these security best practices, you can ensure that your Raspberry Pi remains protected while still being accessible remotely.
Configuring Your Network for Remote Access
Proper network configuration is essential for successful remote access to your Raspberry Pi. This section will cover the necessary steps to set up your network for optimal performance.
Steps to Configure Your Network
- Assign a static IP address to your Raspberry Pi.
- Set up port forwarding on your router for SSH (port 22) and VNC (port 5900).
- Use a dynamic DNS service to simplify connecting to your Raspberry Pi from outside your local network.
With a well-configured network, you can access your Raspberry Pi securely and efficiently, even when you're away from home.
Troubleshooting Common Issues
Even with careful planning, issues can arise when setting up remote access for your Raspberry Pi. This section will address common problems and provide solutions to help you overcome them.
Common Troubleshooting Tips
- Check your Raspberry Pi's IP address to ensure it's correctly configured.
- Verify that SSH or VNC is enabled and running on your device.
- Test your network settings to confirm that port forwarding is set up correctly.
By addressing these common issues, you can ensure a smooth and uninterrupted remote access experience for your IoT projects.
Advanced Techniques for Remote IoT Projects
Once you've mastered the basics of remote access, you can explore advanced techniques to enhance your IoT projects. This section will introduce you to some of these techniques and how they can benefit your work.
Advanced Features to Explore
- Automate tasks using scripts and cron jobs.
- Integrate cloud services for data storage and analysis.
- Implement machine learning models for predictive maintenance.
These advanced techniques can take your IoT projects to the next level, providing greater functionality and efficiency.
Best Practices for Remote Access
To ensure the success of your remote IoT projects, it's essential to follow best practices for remote access. This section will summarize key recommendations to keep in mind.
Key Best Practices
- Regularly back up your Raspberry Pi's data to prevent loss.
- Monitor your device's performance and security status.
- Stay informed about the latest developments in IoT technology.
By adhering to these best practices, you can maintain a reliable and secure remote access setup for your Raspberry Pi IoT projects.
Conclusion and Next Steps
In this ultimate tutorial, we've covered everything you need to know about remotely accessing Raspberry Pi for IoT projects. From setting up SSH and VNC to securing your connections and troubleshooting common issues, you now have the knowledge and tools to manage your IoT projects remotely.
We encourage you to put this information into practice and explore the possibilities of remote IoT projects. Don't forget to share your experiences and insights in the comments section below. For more in-depth guides and resources, check out our other articles on IoT and Raspberry Pi.
Call to Action: If you found this tutorial helpful, please consider sharing it with your network and subscribing to our newsletter for more exciting content on IoT and technology.