As technology continues to evolve, the Internet of Things (IoT) has become an integral part of modern infrastructure. RemoteIoT VPC network setups using Raspberry Pi and AWS services have gained immense popularity due to their flexibility and cost-effectiveness. If you're looking to build a secure and scalable IoT network, this guide is your ultimate resource. We'll walk you through the process of setting up a Raspberry Pi with AWS Free Tier services, ensuring maximum security and reliability.
This article dives deep into the world of IoT networking, focusing on creating a secure environment for your Raspberry Pi devices. Whether you're a hobbyist or a professional, understanding how to leverage AWS services for your IoT projects can significantly enhance your setup's capabilities.
By the end of this guide, you'll have a comprehensive understanding of RemoteIoT VPC network configurations, the importance of security, and how to implement these principles effectively. Let's get started!
Read also:Does Donald Trump Play Guitar Unveiling The Truth Behind The Question
Table of Contents
- Introduction to RemoteIoT VPC Network
- Overview of Raspberry Pi
- AWS Services for IoT
- Setting Up VPC Network
- Security Best Practices
- Benefits of AWS Free Tier
- Step-by-Step Raspberry Pi Setup
- Common Issues and Troubleshooting
- Real-World Case Studies
- Conclusion
Introduction to RemoteIoT VPC Network
RemoteIoT VPC network refers to a virtual private cloud environment specifically designed for IoT devices. This setup allows you to securely connect and manage your devices from anywhere in the world. By leveraging AWS services, you can ensure that your IoT network is both scalable and protected against potential threats.
VPC networks provide a secure and isolated environment for your devices, ensuring that only authorized traffic can access your network. This is particularly important for IoT setups, where security breaches can have serious consequences.
With the growing demand for remote access and management, understanding how to configure a VPC network is essential for anyone working with IoT devices. In this section, we'll explore the basics of VPC networks and their role in IoT projects.
Overview of Raspberry Pi
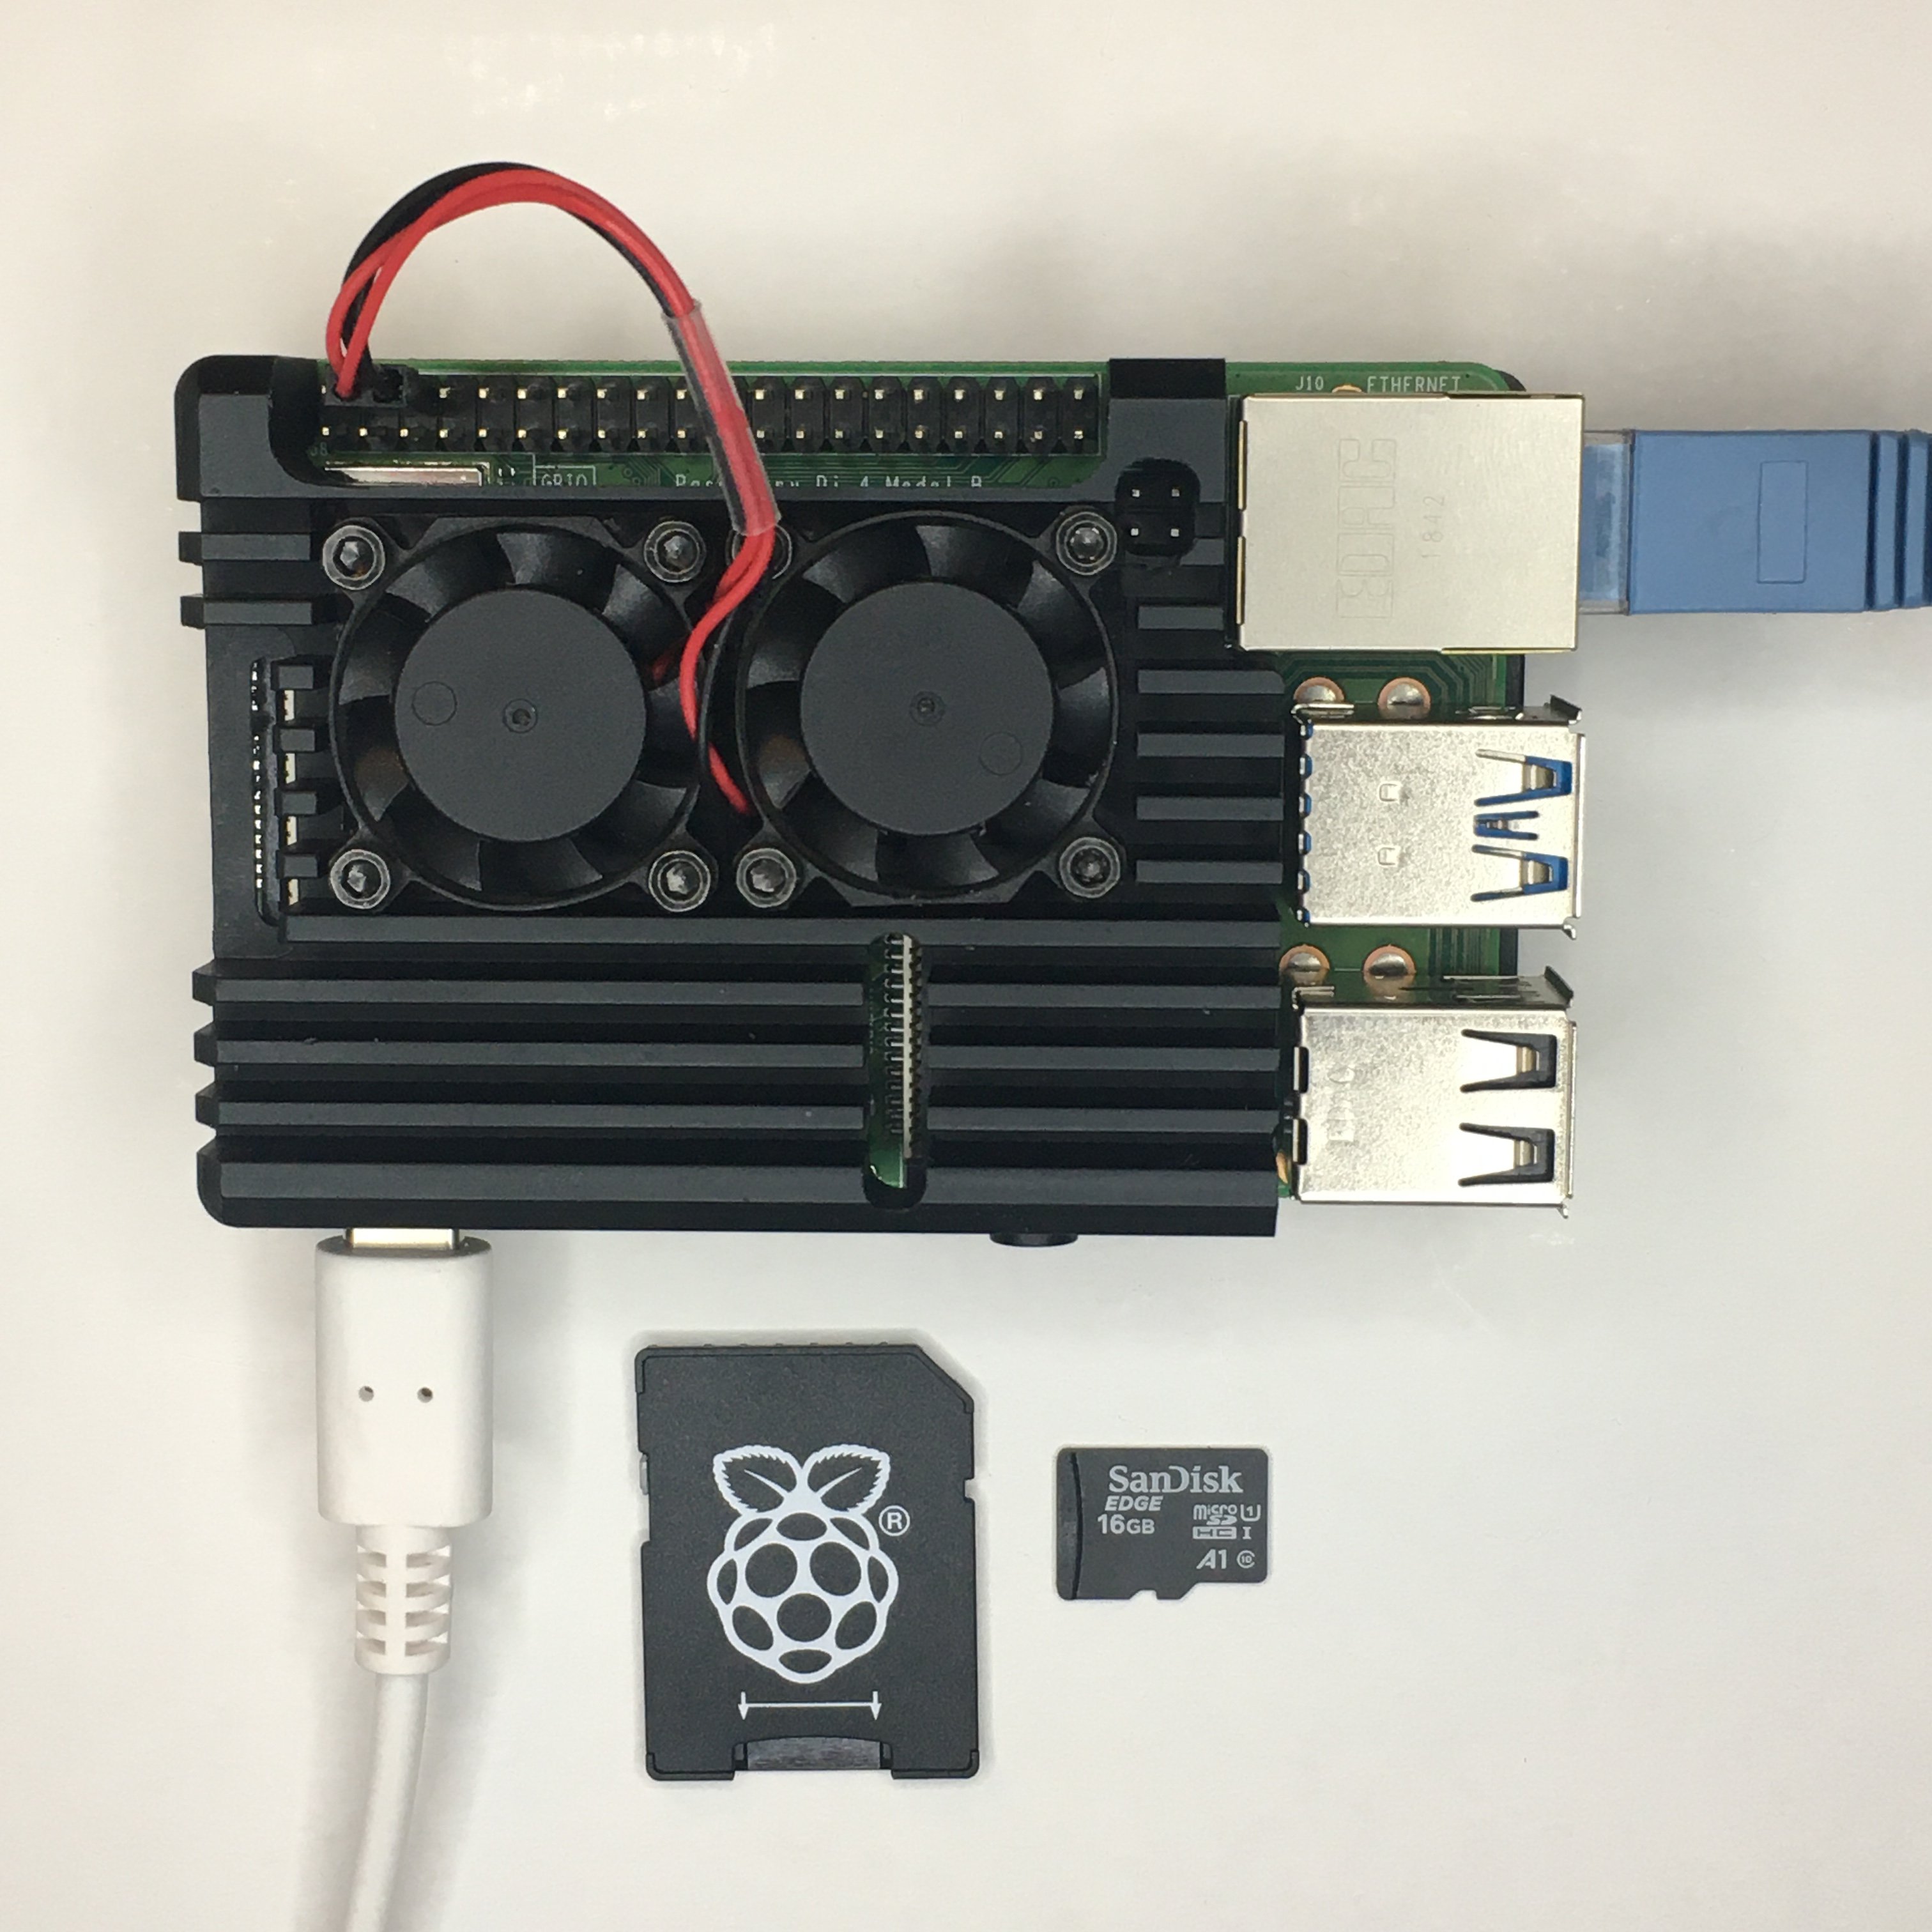
The Raspberry Pi is a small, affordable computer that has become a favorite among hobbyists and professionals alike. Its versatility makes it an ideal platform for IoT projects, offering a wide range of capabilities and customization options.
Some key features of the Raspberry Pi include:
- Low power consumption
- Multiple GPIO pins for interfacing with sensors and actuators
- Support for various operating systems, including Raspbian and Ubuntu
- Built-in Wi-Fi and Bluetooth capabilities
When combined with AWS services, the Raspberry Pi becomes a powerful tool for building secure and scalable IoT networks. In the following sections, we'll explore how to integrate these two technologies effectively.
Read also:Movierulz Movie 2023 The Ultimate Guide To Streaming And Downloading Movies
AWS Services for IoT
Understanding AWS IoT Core
AWS IoT Core is a managed cloud service that allows connected devices to securely interact with cloud applications and other devices. It supports billions of devices and trillions of messages, making it an ideal choice for large-scale IoT projects.
Key features of AWS IoT Core include:
- Device management
- Secure communication
- Scalable message routing
Free Tier Benefits
AWS offers a free tier that includes a variety of services, making it accessible for hobbyists and small businesses. Some of the services included in the free tier are:
- AWS Lambda
- AWS S3
- AWS IoT Core
These services can be used to build a robust IoT network without incurring any costs, making them an attractive option for those just starting out.
Setting Up VPC Network
Creating a VPC
To set up a VPC network for your IoT devices, follow these steps:
- Log in to the AWS Management Console.
- Navigate to the VPC dashboard.
- Click on "Create VPC" and configure the settings as needed.
Once your VPC is created, you can begin adding subnets and routing tables to further customize your network.
Configuring Security Groups
Security groups act as virtual firewalls for your instances, controlling inbound and outbound traffic. To configure a security group:
- Go to the EC2 dashboard.
- Select "Security Groups" from the left-hand menu.
- Create a new security group and define the necessary rules.
By carefully configuring your security groups, you can ensure that only authorized traffic reaches your devices.
Security Best Practices
When building a RemoteIoT VPC network, security should always be a top priority. Here are some best practices to follow:
- Use strong, unique passwords for all devices and accounts.
- Regularly update firmware and software to patch vulnerabilities.
- Enable two-factor authentication wherever possible.
- Monitor network activity for signs of unauthorized access.
Implementing these practices will help protect your IoT network from potential threats and ensure its long-term stability.
Benefits of AWS Free Tier
The AWS Free Tier offers a range of benefits for IoT projects, including:
- Cost savings: With no upfront costs, you can experiment with different configurations and services without financial risk.
- Scalability: As your project grows, you can easily upgrade to paid services without having to start from scratch.
- Access to cutting-edge technology: AWS provides access to the latest tools and technologies, ensuring that your project stays ahead of the curve.
By taking advantage of the AWS Free Tier, you can build a secure and scalable IoT network without breaking the bank.
Step-by-Step Raspberry Pi Setup
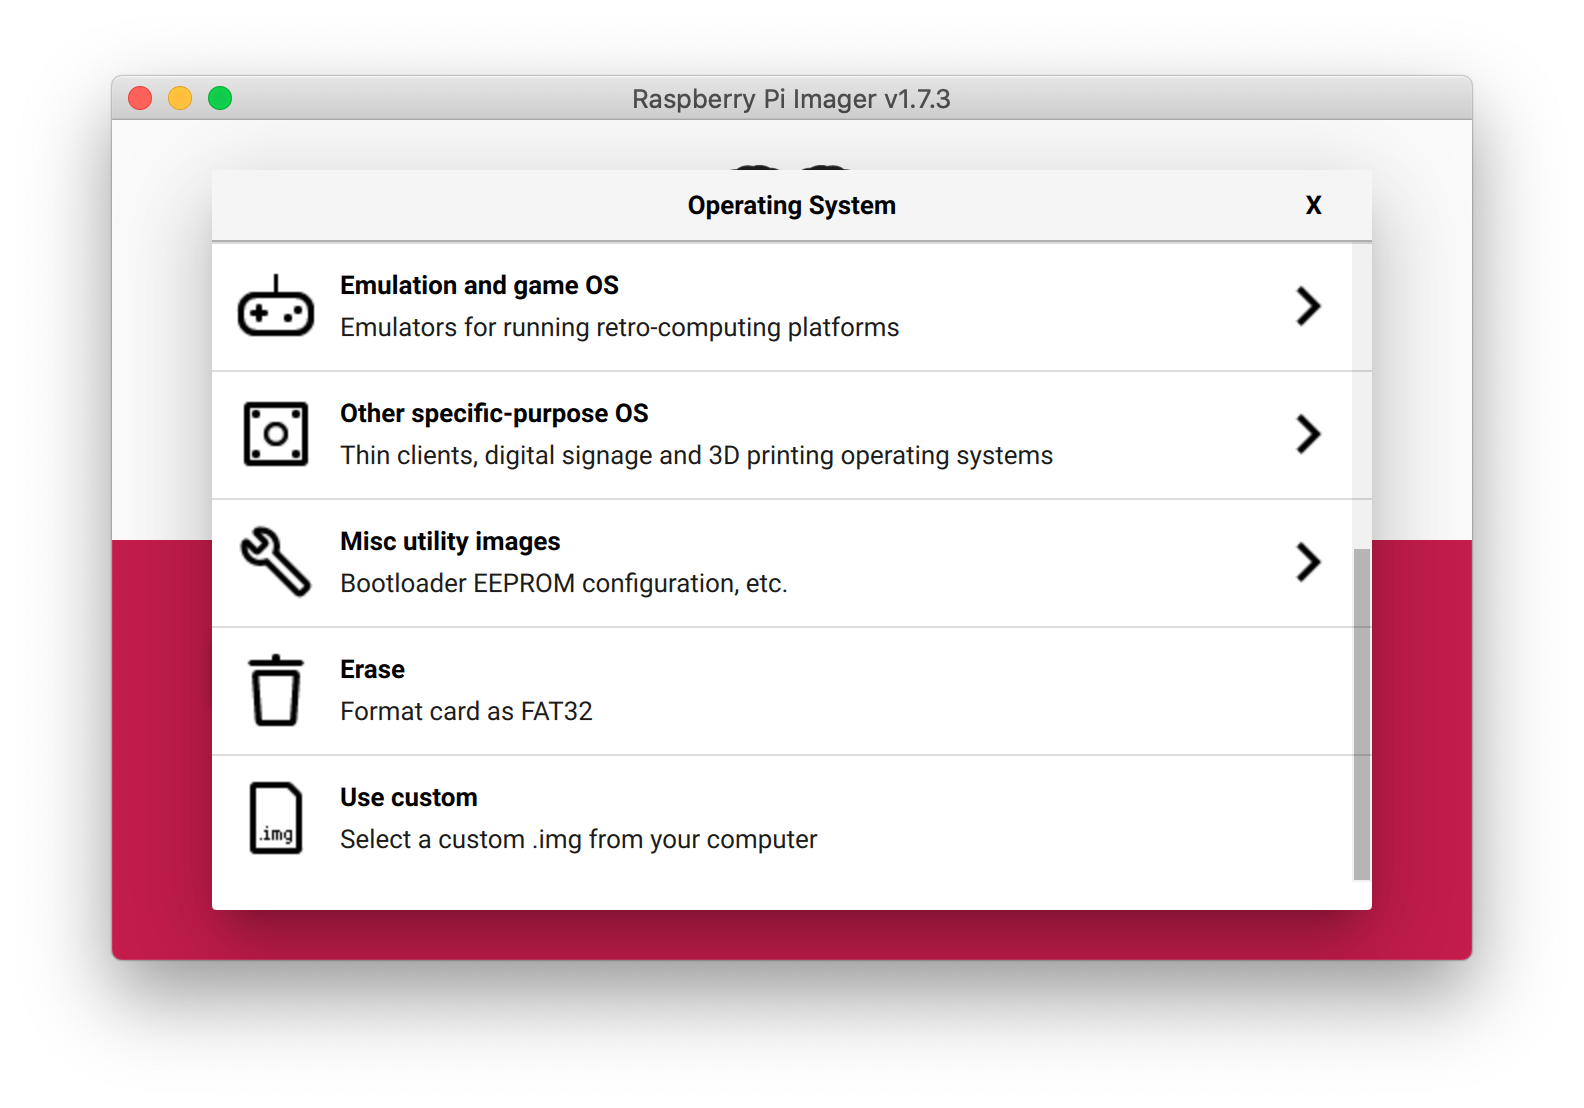
Installing the Operating System
To begin setting up your Raspberry Pi:
- Download the desired operating system image.
- Use a tool like Etcher to write the image to an SD card.
- Insert the SD card into your Raspberry Pi and power it on.
Once the operating system is installed, you can proceed to configure your device for use with AWS services.
Connecting to AWS
Connecting your Raspberry Pi to AWS involves several steps:
- Install the AWS CLI on your Raspberry Pi.
- Configure the CLI with your AWS credentials.
- Set up the necessary IAM roles and policies.
With these steps completed, your Raspberry Pi will be ready to communicate with AWS services securely.
Common Issues and Troubleshooting
While setting up a RemoteIoT VPC network, you may encounter various issues. Some common problems include:
- Network connectivity issues: Ensure that your device is properly connected to the internet and that all necessary ports are open.
- Authentication errors: Double-check your AWS credentials and IAM policies to ensure they are correctly configured.
- Device malfunctions: Verify that your Raspberry Pi is functioning properly and that all hardware components are functioning as expected.
By addressing these issues promptly, you can minimize downtime and ensure the smooth operation of your IoT network.
Real-World Case Studies
To further illustrate the benefits of RemoteIoT VPC networks, let's look at a few real-world examples:
- Smart Home Automation: A homeowner uses a Raspberry Pi and AWS services to create a secure and scalable smart home network, controlling lights, thermostats, and security systems from a central dashboard.
- Agricultural Monitoring: A farmer deploys IoT sensors across their fields, using a Raspberry Pi and AWS to collect and analyze data in real-time, optimizing crop yields and reducing water usage.
These examples demonstrate the versatility and potential of RemoteIoT VPC networks in various industries.
Conclusion
Building a secure Raspberry Pi setup with AWS Free Tier services for a RemoteIoT VPC network is a powerful way to enhance your IoT projects. By following the steps outlined in this guide, you can create a robust and scalable network that meets your specific needs.
We encourage you to share your experiences and insights in the comments below. Additionally, feel free to explore other articles on our site for more information on IoT and cloud computing. Together, let's build a safer, smarter future!